
If your SE475 engine exhaust is damaged, blocked or excessively noisy, it may need to be removed and replaced. A faulty exhaust can affect engine performance, increase noise levels and in some cases cause starting or running issues.
This guide explains how to safely remove and replace the exhaust assembly on an SE475 engine.
Quick Answer
To replace the exhaust on an SE475 engine:
- Remove the two 10mm exhaust retaining nuts.
- Remove the exhaust cover.
- Detach the exhaust assembly from the engine.
- Check and position the exhaust gasket.
- Fit the new exhaust and refit the cover.
- Tighten the retaining nuts securely and test the engine.
Always ensure the gasket is correctly seated before reassembly.
Before You Begin
Before starting this repair:
- Switch off the engine and allow it to cool completely.
- Remove the spark plug cap to prevent accidental starting.
- Work in a well-ventilated area.
- Wear suitable protective gloves, as exhaust components may have sharp edges or heat damage.
Tools required:
- 10mm spanner or socket wrench
Steps
Step 1 – Remove the Exhaust Retaining Nuts
Locate the exhaust mounting points on the engine.
Using a 10mm spanner or socket:
- Remove the two exhaust retaining nuts.
These are typically positioned on either side of the exhaust assembly.
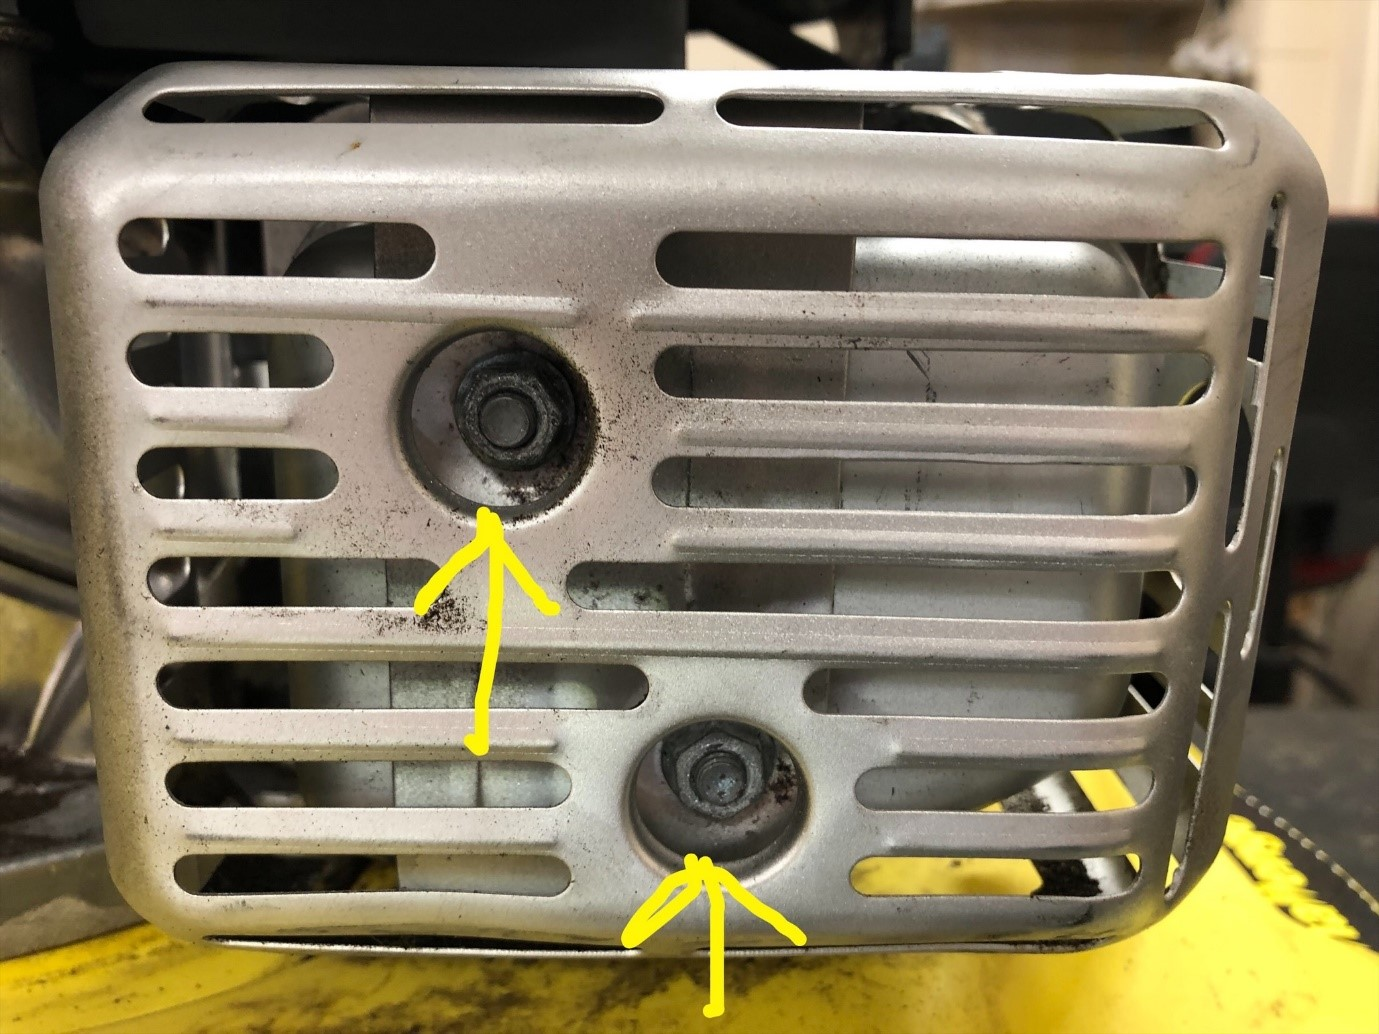
Step 2 – Remove the Exhaust Cover
Once the retaining nuts have been removed:
- Carefully lift off the exhaust cover.
- Place it safely to one side.
Take care not to damage any surrounding components during removal.
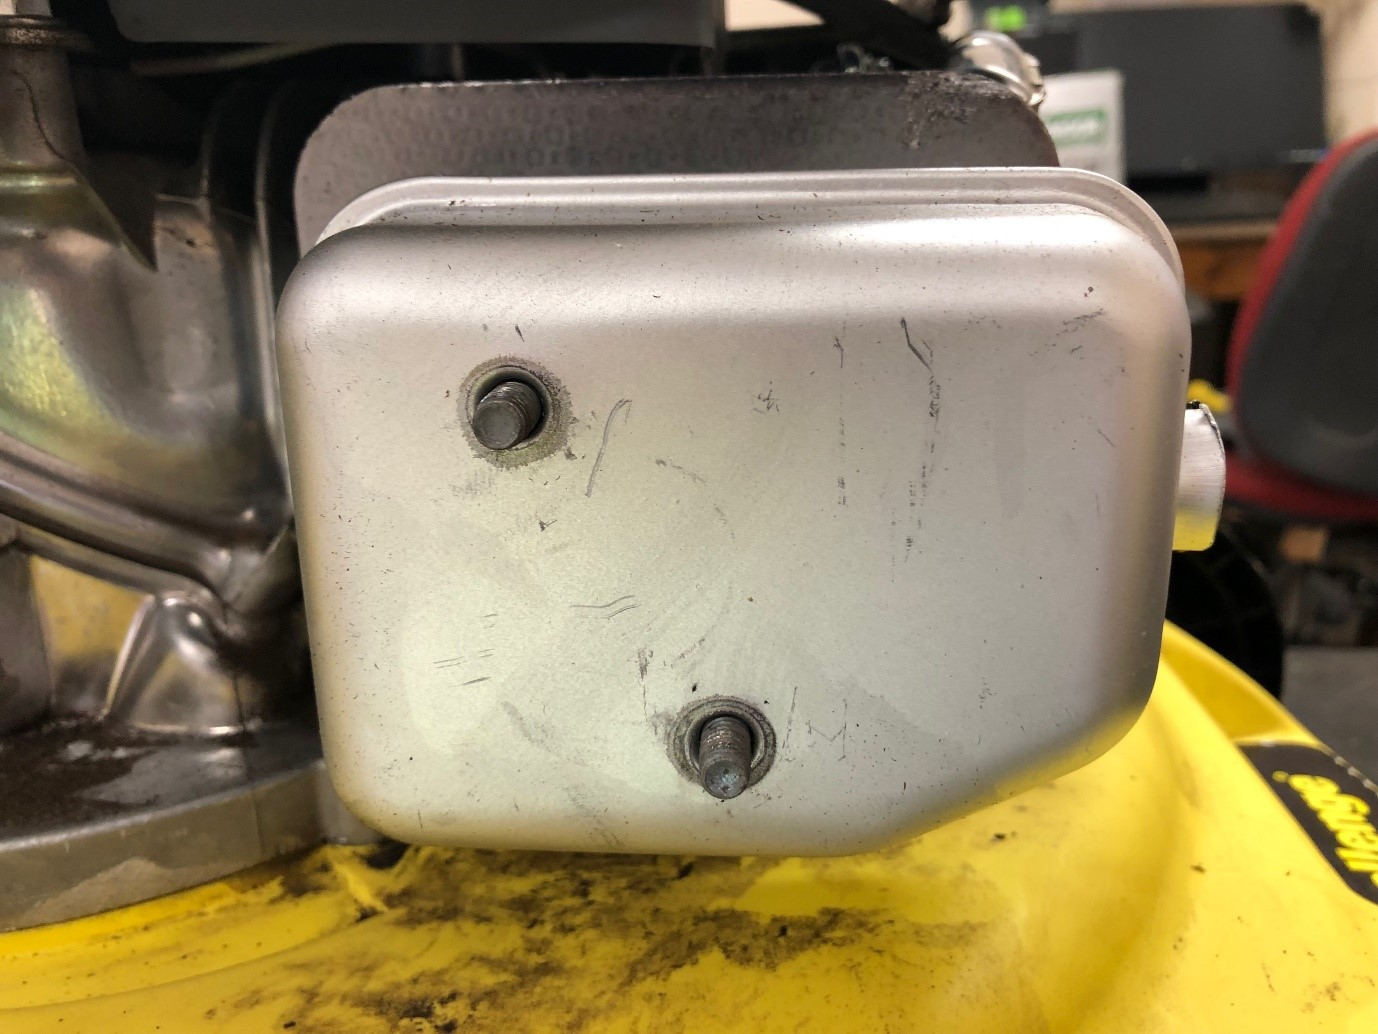
Step 3 – Remove the Exhaust Assembly
With the cover removed:
- Carefully detach the exhaust assembly from the engine.
- Slide it away from the mounting studs or bolts.
- Set it aside on a safe surface.
If resistance is felt, gently wiggle the exhaust to free it from the gasket seal.
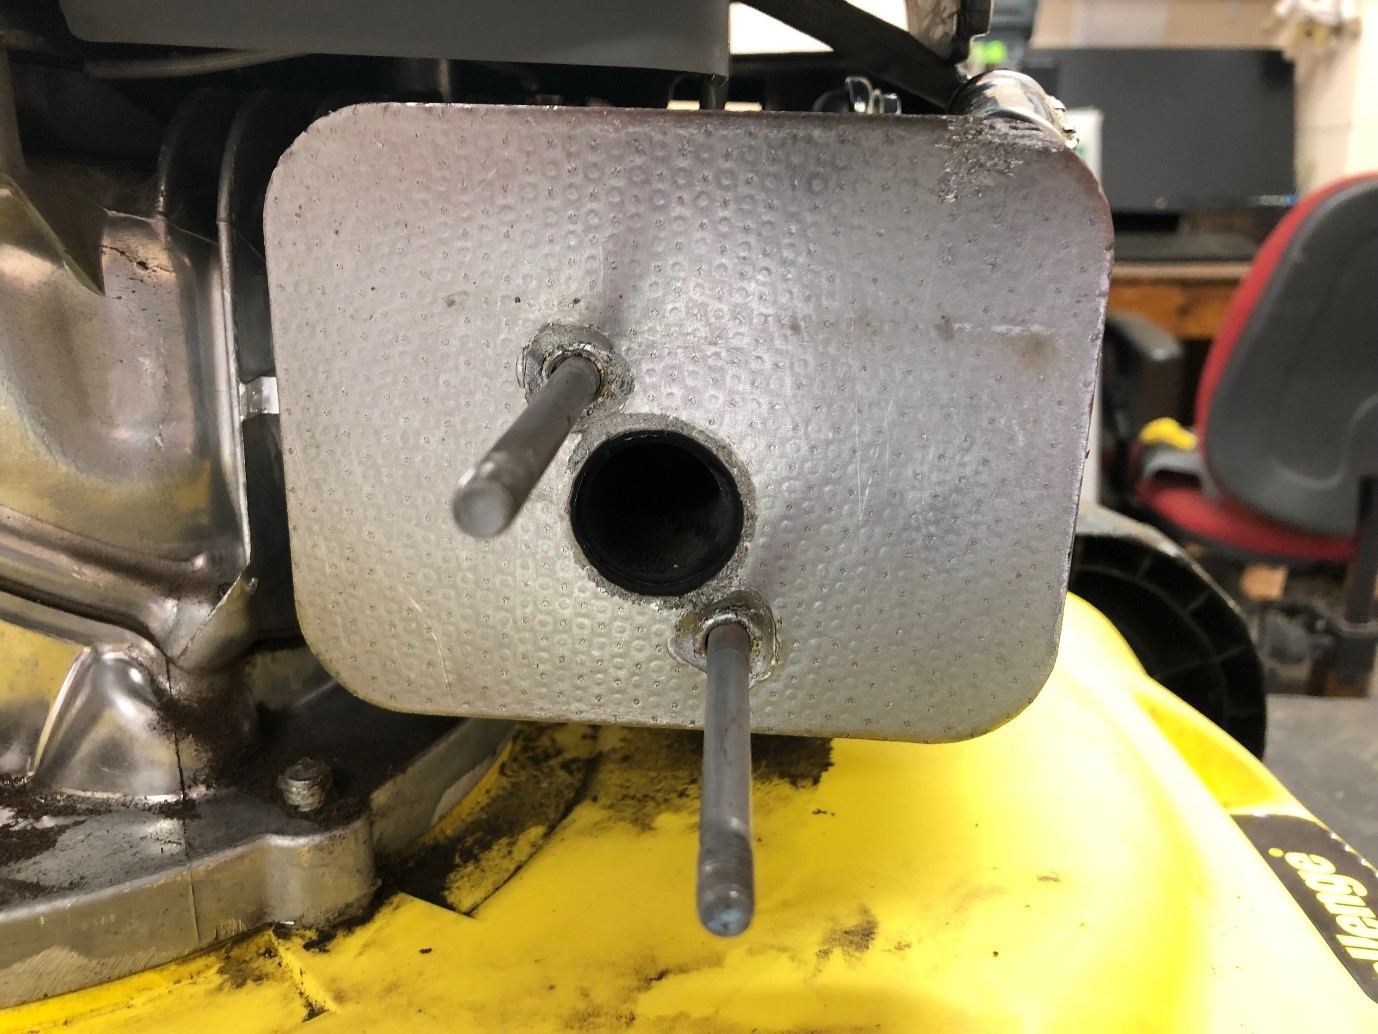
Replacing the Exhaust
Step 4 – Fit the New Exhaust Assembly
Before installation:
- Inspect the exhaust heat gasket.
- Ensure it is not cracked, burnt or damaged.
- Replace the gasket if necessary.
Then:
- Position the new exhaust assembly onto the engine.
- Align it correctly with the mounting points.
- Ensure it sits flush against the engine surface.
Step 5 – Refit the Exhaust Cover
- Place the exhaust cover back into position.
- Align it with the mounting holes.
- Ensure it sits correctly without obstruction.
Step 6 – Secure the Assembly
Using a 10mm spanner or socket:
- Refit the two exhaust retaining nuts.
- Tighten them evenly and securely.
Do not overtighten, as this may damage the threads or distort the exhaust housing.
Final Checks
After installation:
- Confirm the exhaust is firmly secured.
- Check the gasket is properly seated with no gaps.
- Ensure all components are correctly aligned.
- Start the engine briefly and listen for abnormal noise or leaks.
If you notice excessive noise, vibration or exhaust leakage, switch off the engine and recheck the installation.
Frequently Asked Questions
Why would I need to replace an engine exhaust?
Common reasons include rust, cracks, blockages, excessive noise or damage caused by overheating or impact.
What happens if the exhaust gasket is damaged?
A damaged gasket can cause exhaust leaks, reduced engine performance and increased noise. It should always be replaced when fitting a new exhaust.
Can I run the engine without an exhaust fitted?
No. Running the engine without an exhaust can cause noise hazards, poor performance and potential engine damage.
Why is my new exhaust leaking?
Leaks are usually caused by incorrect gasket placement, loose retaining nuts or misalignment between the exhaust and engine mounting surface.
Do I need to tighten the exhaust nuts very tightly?
No. The nuts should be firm and secure but not overtightened, as this may damage the threads or exhaust housing.
Will replacing the exhaust improve engine performance?
If the old exhaust was blocked or restricted, replacing it can improve airflow, starting reliability and overall engine performance.